Google Sheets to Address Labels: A Practical Guide
Learn how to convert a Google Sheets data list into printable address labels. This practical guide covers data setup, template design, formulas for label content, printing tips, and automation for repeat use.

Overview and goals for google sheets to address labels
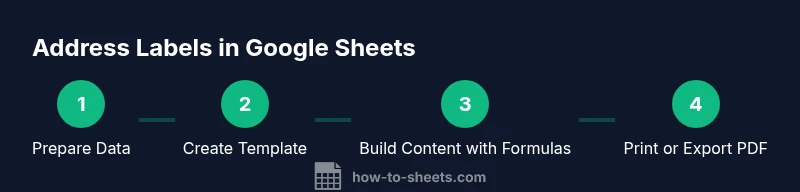
Address labels produced in Google Sheets offer a practical, scalable solution for mailings, events, or customer communications. The keyword google sheets to address labels signals a workflow that starts with a clean data source and ends with printable sheets that fit common label stock. According to How To Sheets, address labeling should begin with a clean data source and a printable template to minimize errors and waste. In this guide, you will learn how to set up your sheet, design a label template, generate labels through formulas, and print or export with proper margins. You’ll see how to reuse this workflow for future campaigns and how small data changes can automatically update every label. This approach keeps your process auditable, distributes responsibility with teammates, and saves time on repetitive tasks. The How To Sheets team emphasizes practical templates and repeatable steps that you can adapt to different label formats and printer configurations.
Data preparation: structure and cleanup
Before you start designing labels, organize your data in a single, well-structured sheet. Create columns for Full Name, Address Line 1, Address Line 2 (optional), City, State/Province, and ZIP/Postcode. Normalize the data: trim extra spaces, standardize abbreviations, and ensure postal codes follow local formats. Consolidate names with consistent casing (Title Case) and avoid special characters that printers may misinterpret. If you’re pulling from a contact list or CRM, export to CSV and import into Google Sheets, then deduplicate rows. A clean, verified data source reduces errors in your labels and minimizes wasted label stock. How To Sheets analysis shows that starting with clean data is the most reliable predictor of a smooth printing process.
Designing a printable label template in Sheets
Design a label template by planning how many labels fit on a sheet and how each label will appear. Create a grid that mirrors your label stock (for instance, 3 columns by 10 rows on a standard sheet). Place placeholder fields in the first label (e.g., Name on line 1, Address on line 2, City/State/ZIP on line 3). Use thin borders and consistent font sizing to ensure readability, while keeping margins compatible with your printer. If you plan to reuse the template later, add a dedicated sheet tab for “Template Settings” where you store label dimensions, font choices, and a sample data row. This upfront design helps prevent misalignment during printing and makes it easier to update later on.
Building label content with formulas
Populate each label using formulas that pull from your data columns. A simple example combines name and address fields: =A2&
&B2, while a second line can be created with =C2&
&D2&
&E2. If your data includes multiple address lines, consider using TEXTJOIN to assemble a multi-line label: =TEXTJOIN(CHAR(10), TRUE, A2, B2, C2, D2). Ensure the cell format is set to wrap text so each label remains readable. Test with a subset of rows to verify line breaks, spacing, and alignment. In practice, small template tweaks can dramatically improve print accuracy.
Populate labels across all records
Once the first label layout is verified, fill the formulas across all rows. Drag the fill handle or apply an array formula to generate content for each row in the corresponding label column. If your sheet contains blank rows, use IF to skip them: =IF(A2<>
staying consistent. If you work with large lists, periodically pause to let Google Sheets recalculate formulas and ensure stability during the fill operation.
Printing and exporting labels
Before printing, set the print area to cover only the label region and preview the sheet in landscape orientation. Adjust margins to align with your label stock, and select the appropriate paper size. When you’re ready, print a test page on plain paper to check alignment, then print on label stock. Alternatively, export the labeled sheet as a PDF for digital distribution or to share with a print shop. Consistent print settings reduce waste and ensure professional results.
Automation and template reuse
To reuse the workflow, duplicate the template and connect it to new data ranges. Maintain a single source of truth for your data and a separate template sheet for labels, so updates to the data don’t alter the template structure. For ongoing campaigns, convert the setup into a reusable Google Apps Script or a simple data-import process, so new names can be labeled automatically without rebuilding the template. This modular approach saves time and minimizes errors when producing batches of labels.